Log in and upload content
Below are the steps for logging in, uploading and scheduling images and videos to your channels. You can view the tutorial videos or, alternatively, there are step-by-step instructions below.
Before uploading any content make sure it is created in the formats below.
File specifications for content
- Image: jpeg Horizontal (1920x1080 pixels, 72dpi) Portrait (1080x1920 pixels, 72dpi)
- video: MP4 (mpeg file - Frame Rate: 29.97, Profile: Baseline, Bit Rate Target: 6mbps, Bitrate Max: 8mbps, Audio: AAC, sq pixel aspect ratio)
Playlist Channels - uploading content
The video below steps you through uploading, scheduling and expiring content to a playlist channel.
Playlist Channel - uploading multiple items
The following video shows you how to quickly upload, schedula and expire multiple content items.
Advanced Channels - uploading content
The video below shows you how to upload content to an advanced channel.
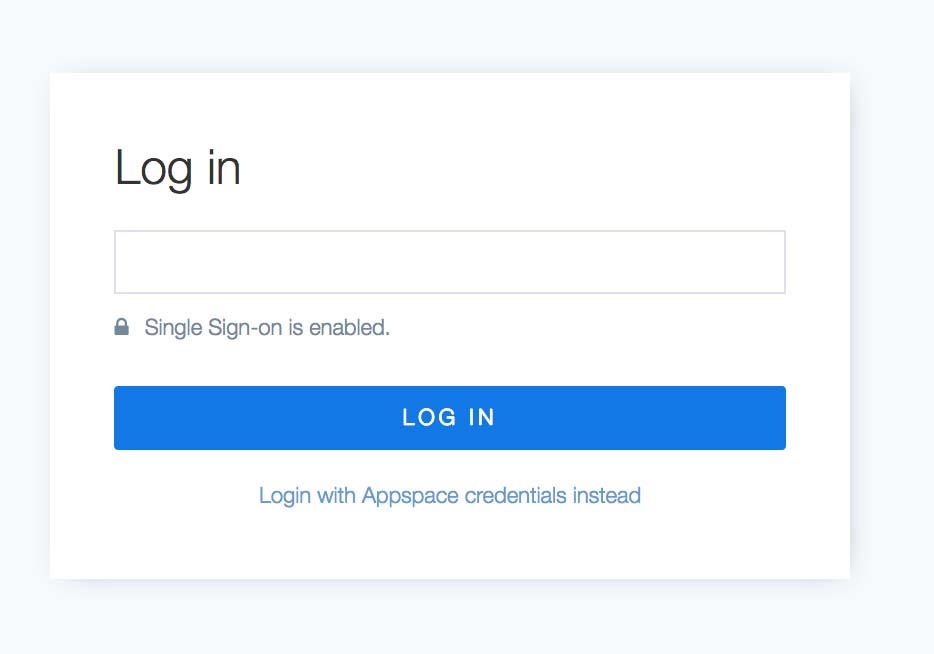
Step 1: Log in to Appspace: cloud.appspace.com/#!/login (external link)
Enter your email at the login screen and select Log in to continue.
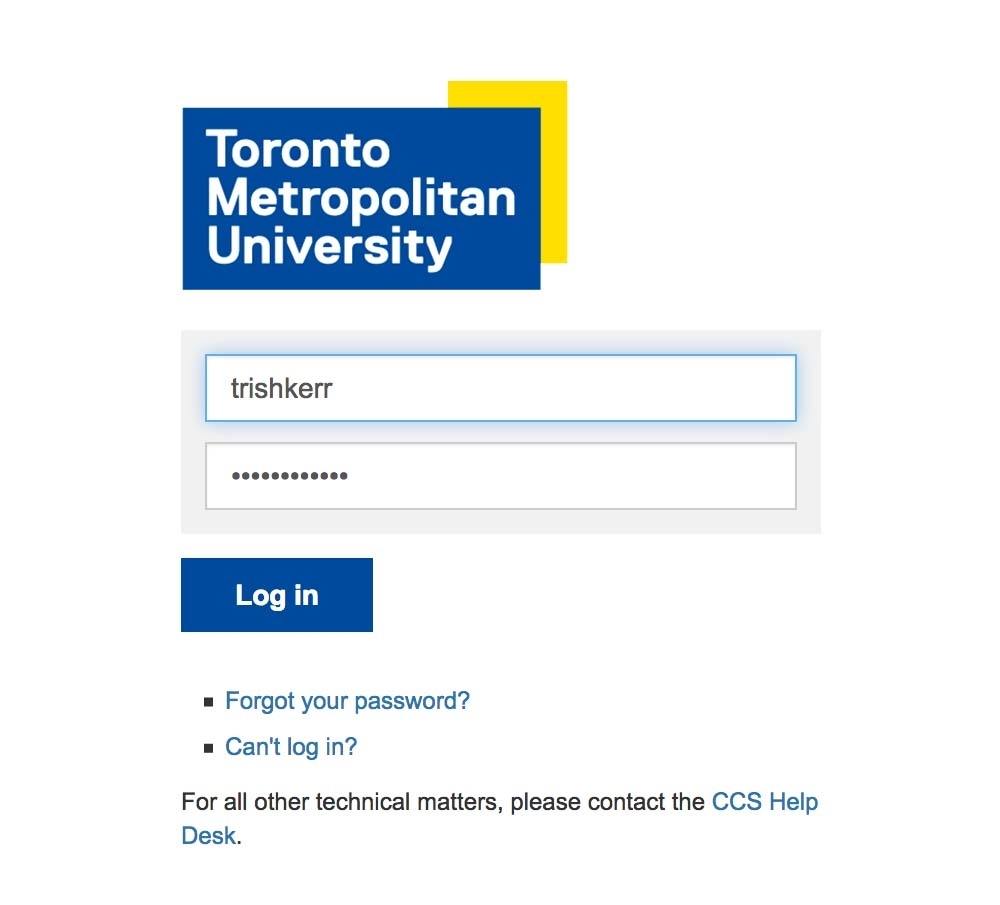
Step 2: Factor Authentication screen: Use your matrix ID and password to access.
Step 3: You are now in the Appspace dashboard. You can either select your ‘Channel(s)’ on the right or choose the channel icon on the left to enter the channel section.
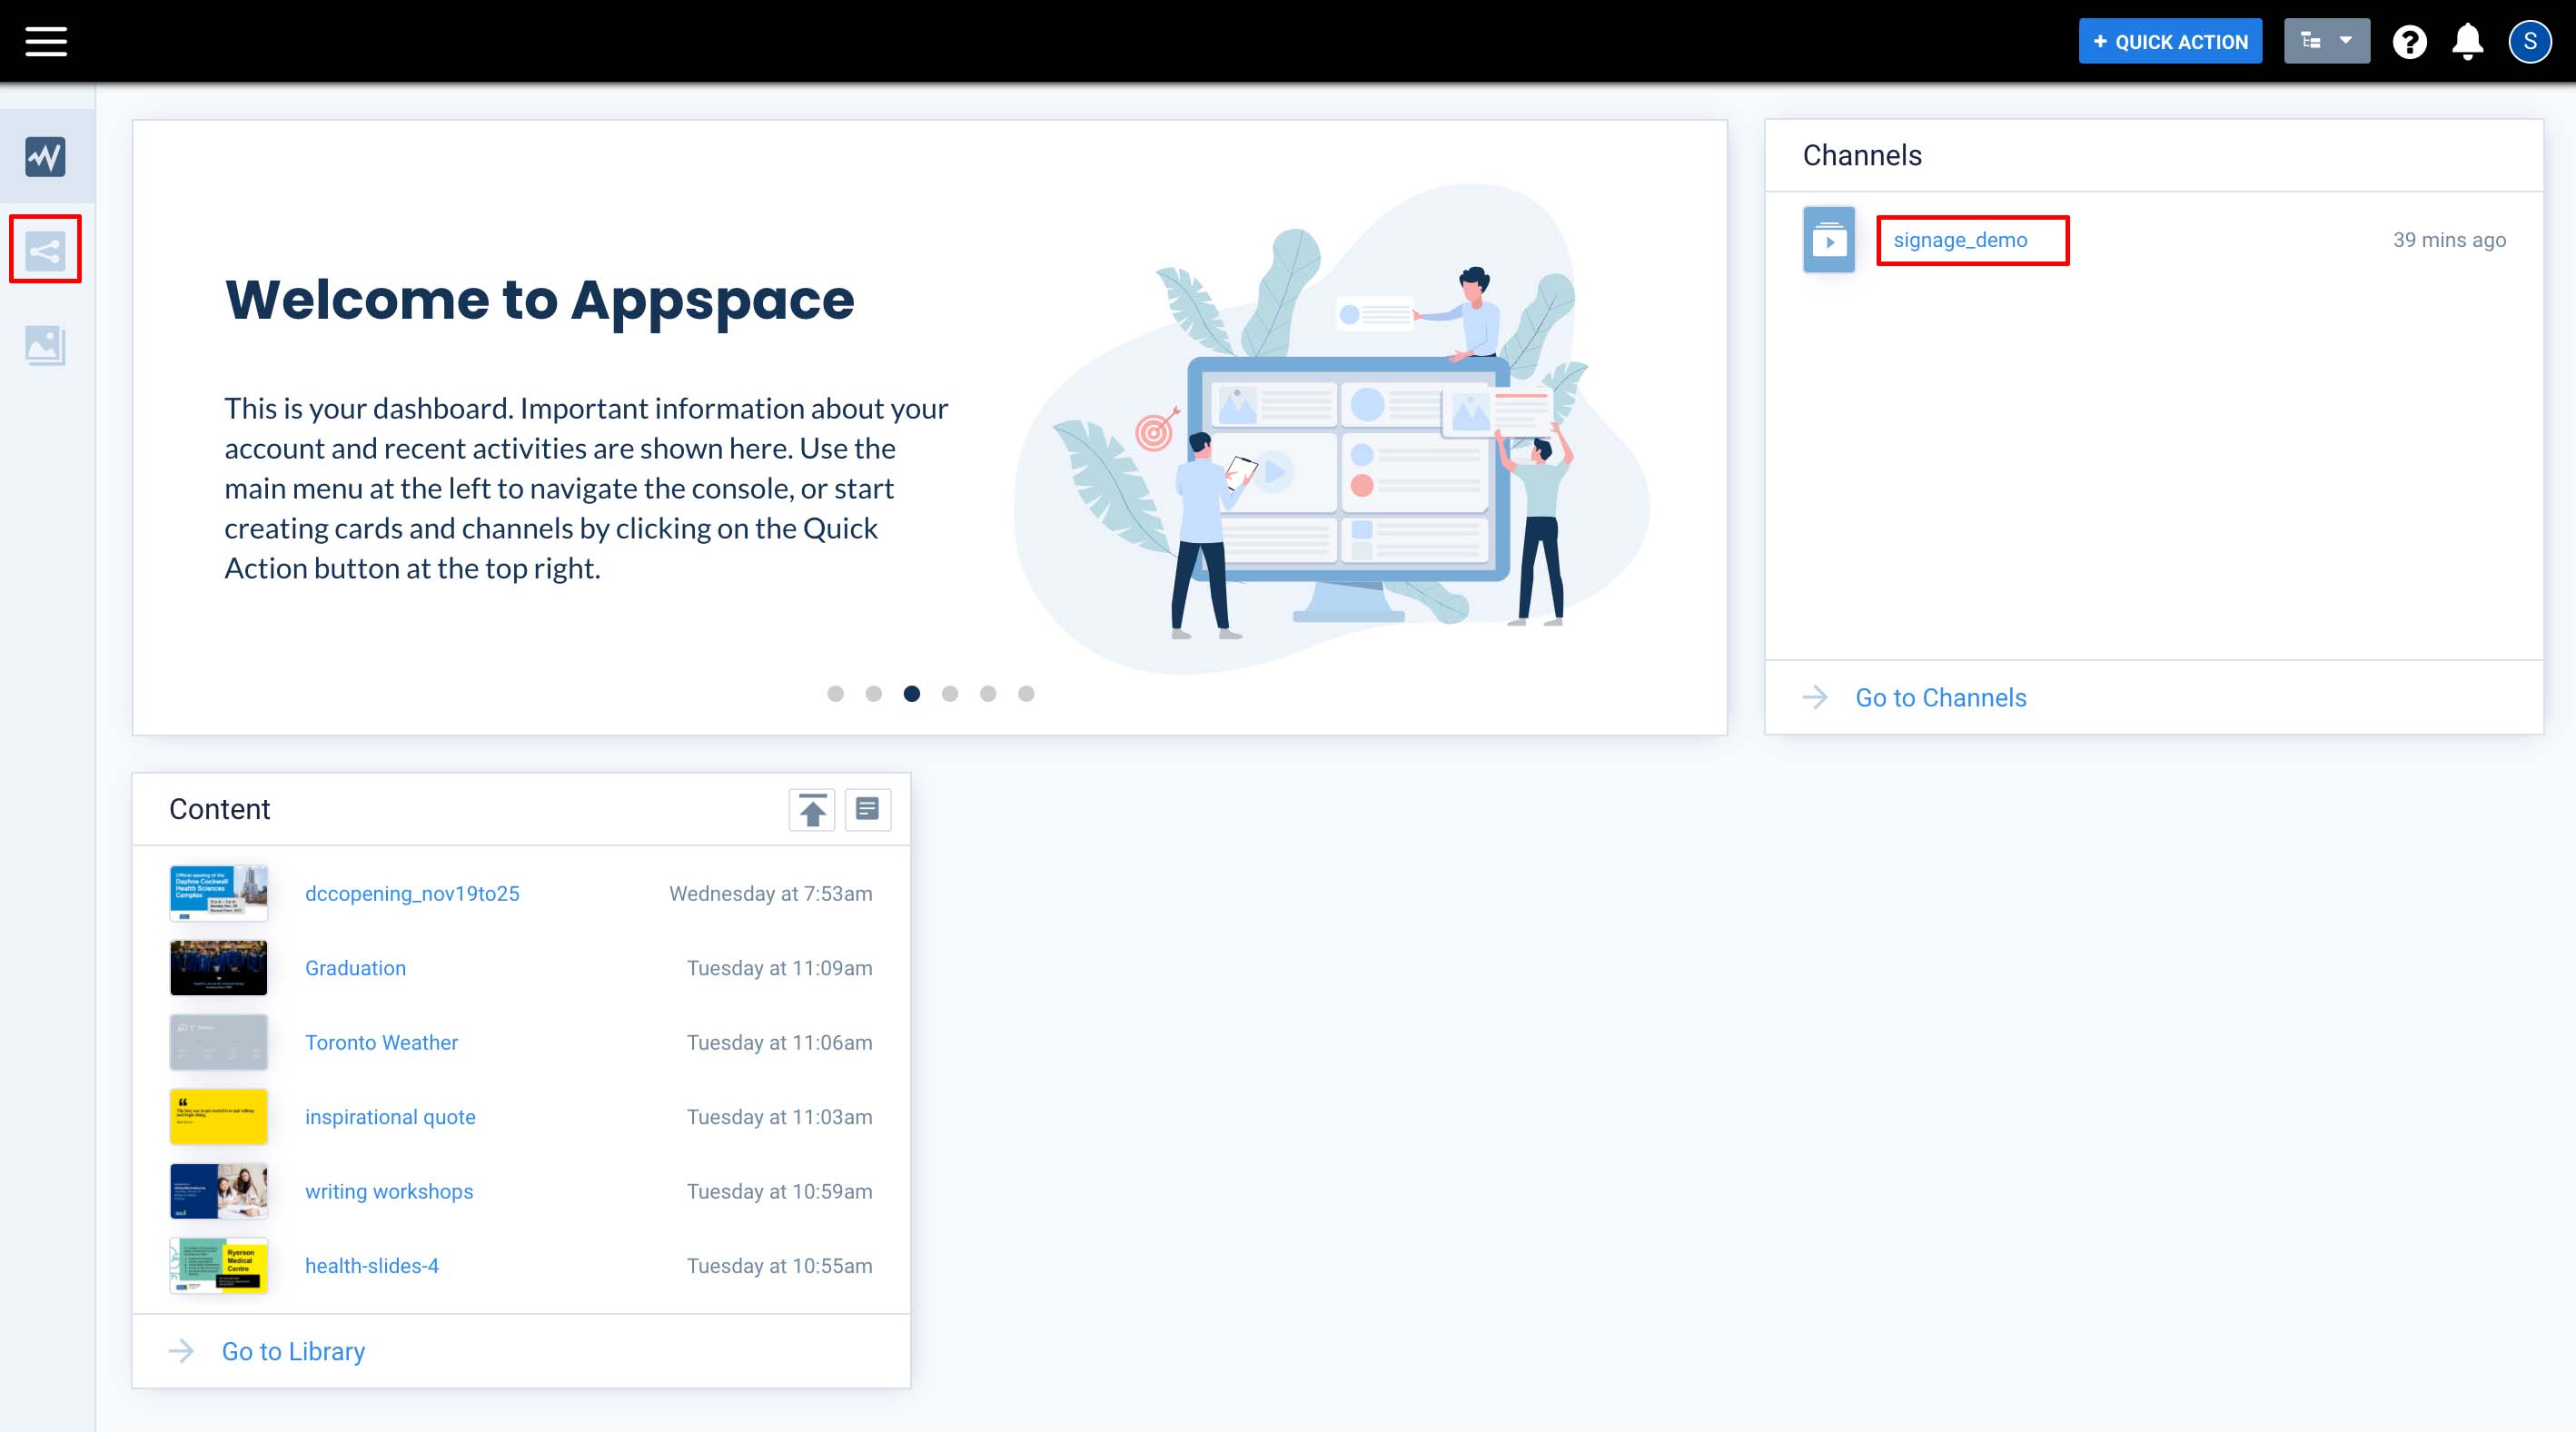
Step 4: If you enter from the icon on the left you will see your channel listed, and must select it to continue.
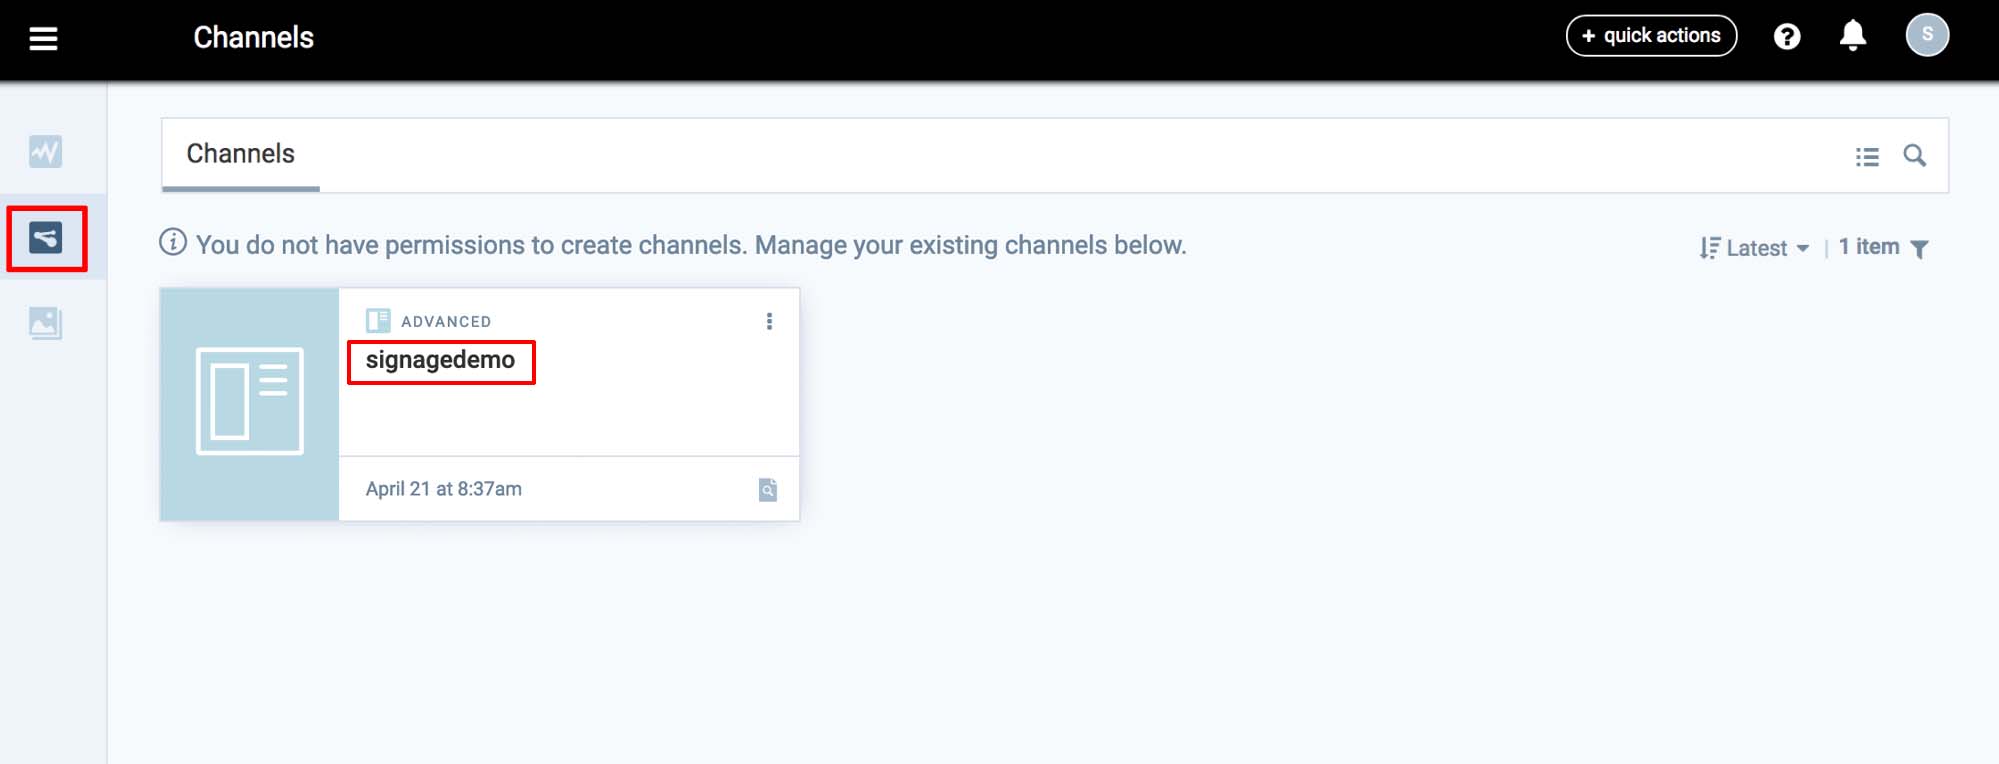
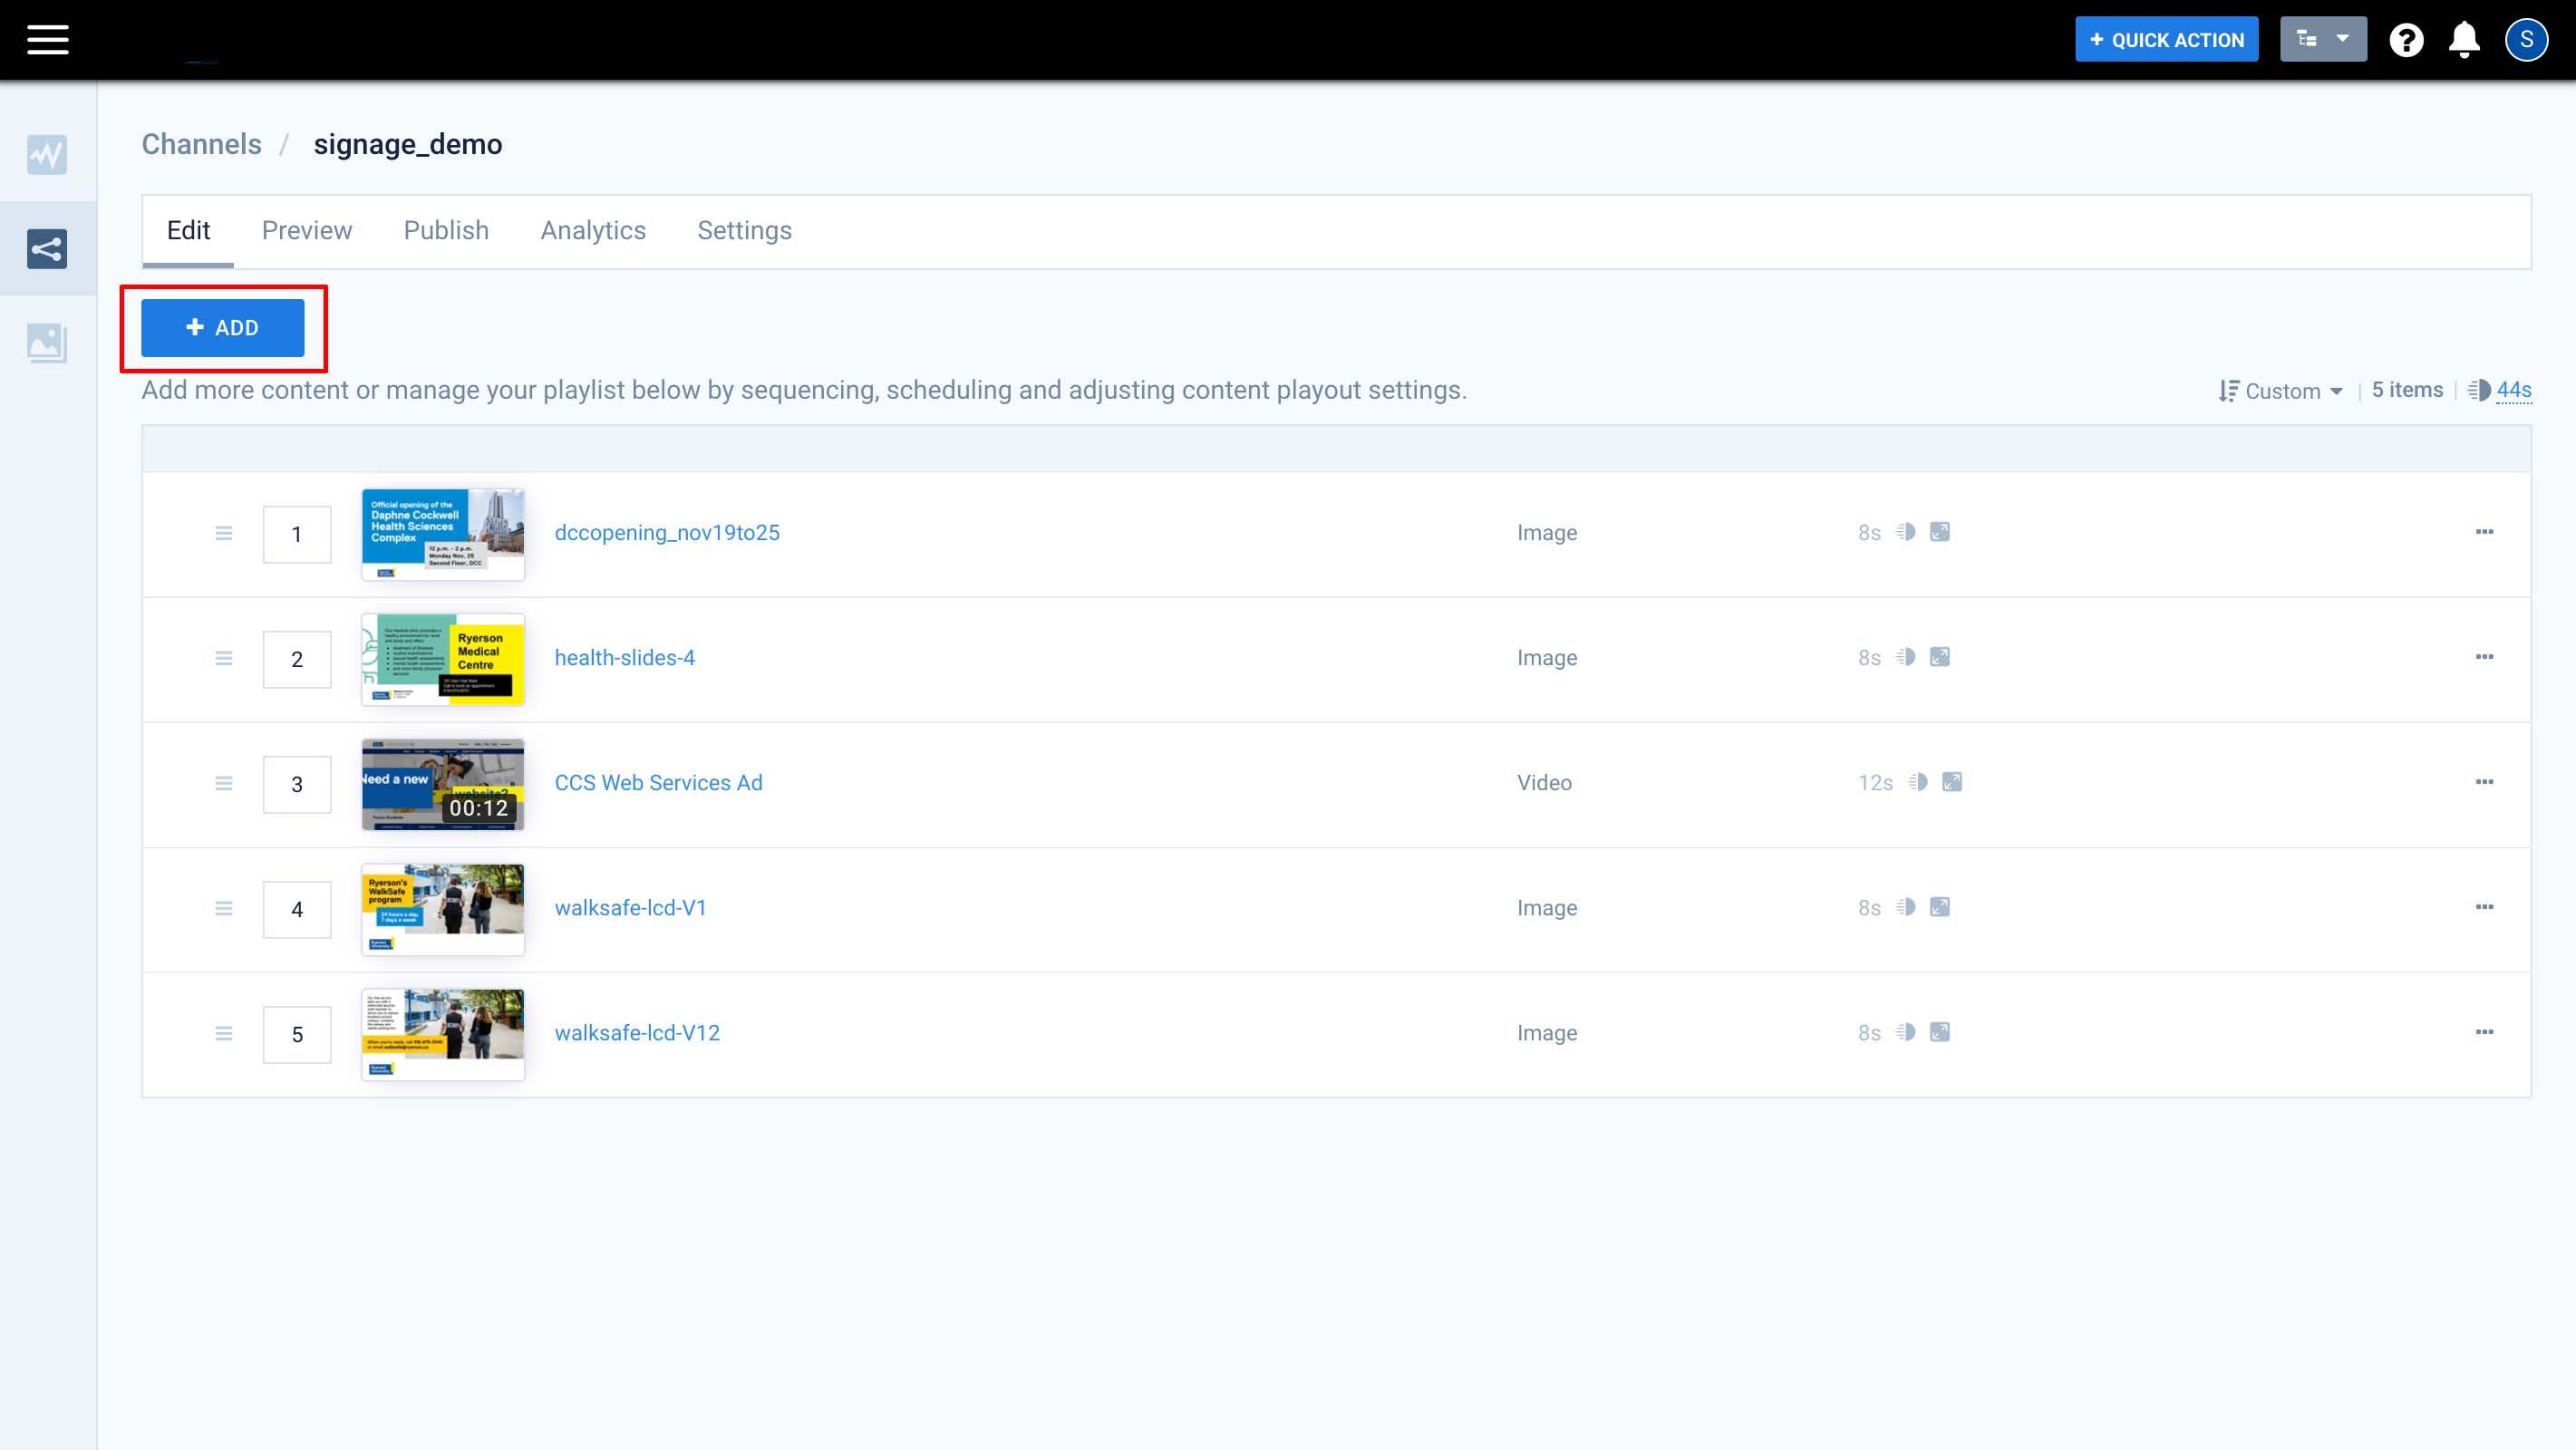
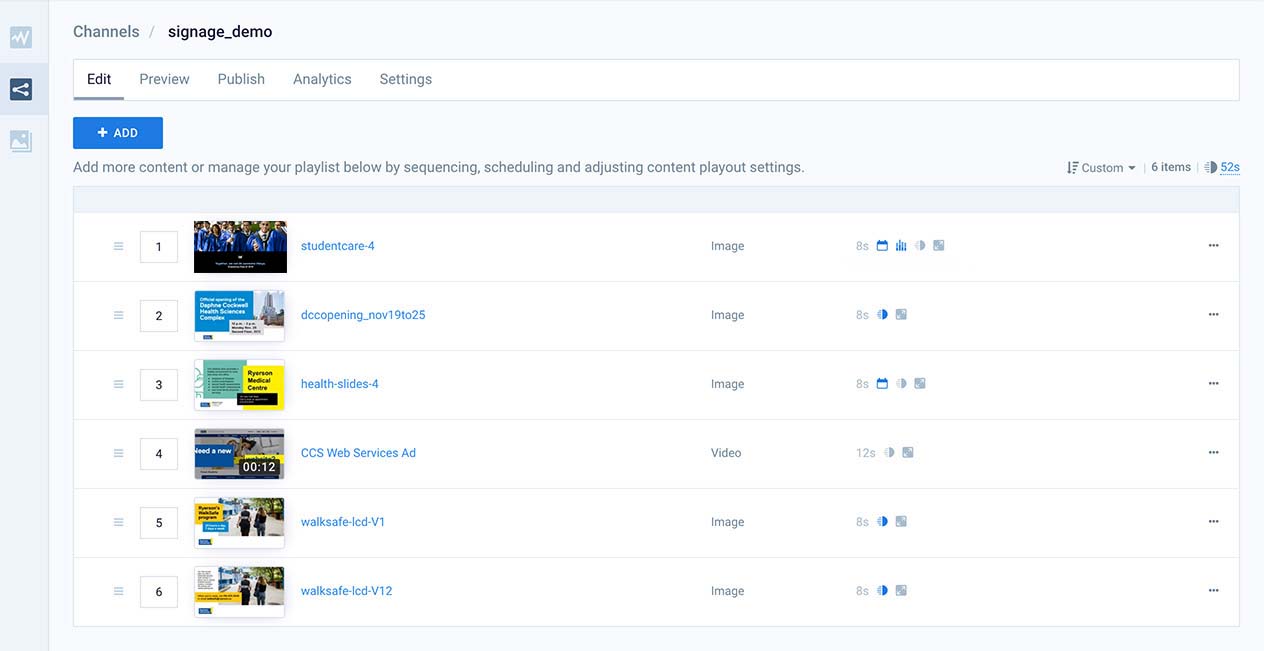
Step 5: You will see a list displaying what is currently in the playlist. Select the ‘Add’ button to add new content.
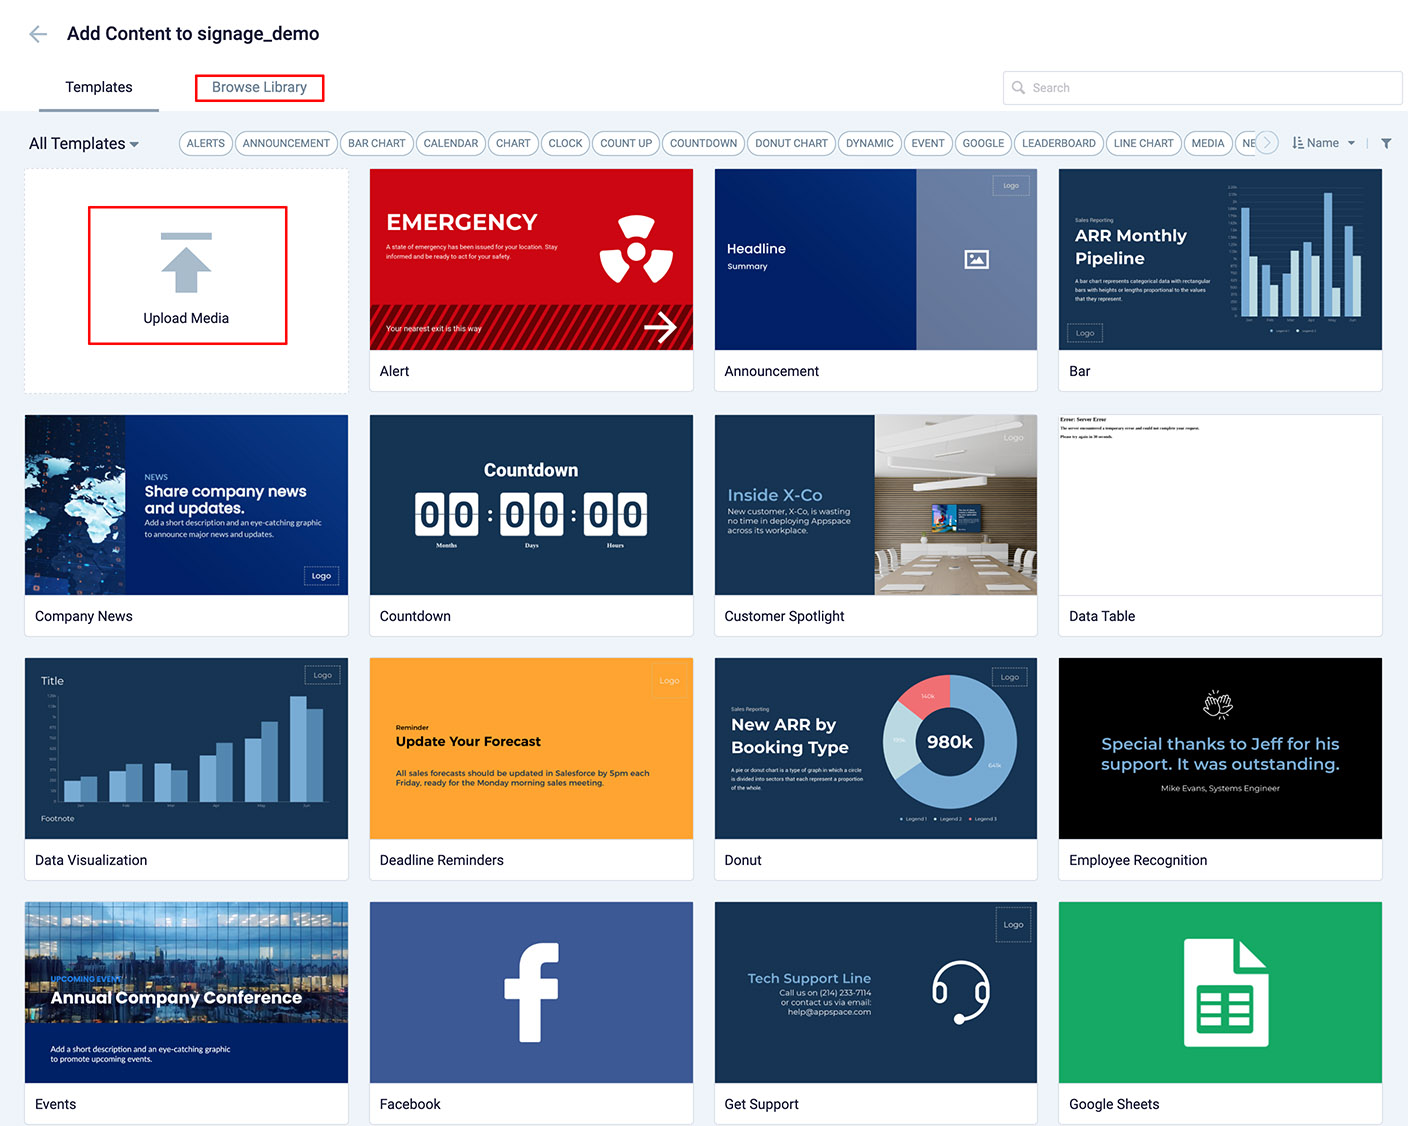
Step 6: You can either choose existing content from your library by selecting the ‘Browse Library’ tab or choose ‘Upload Media’ to upload a file directly from your computer.
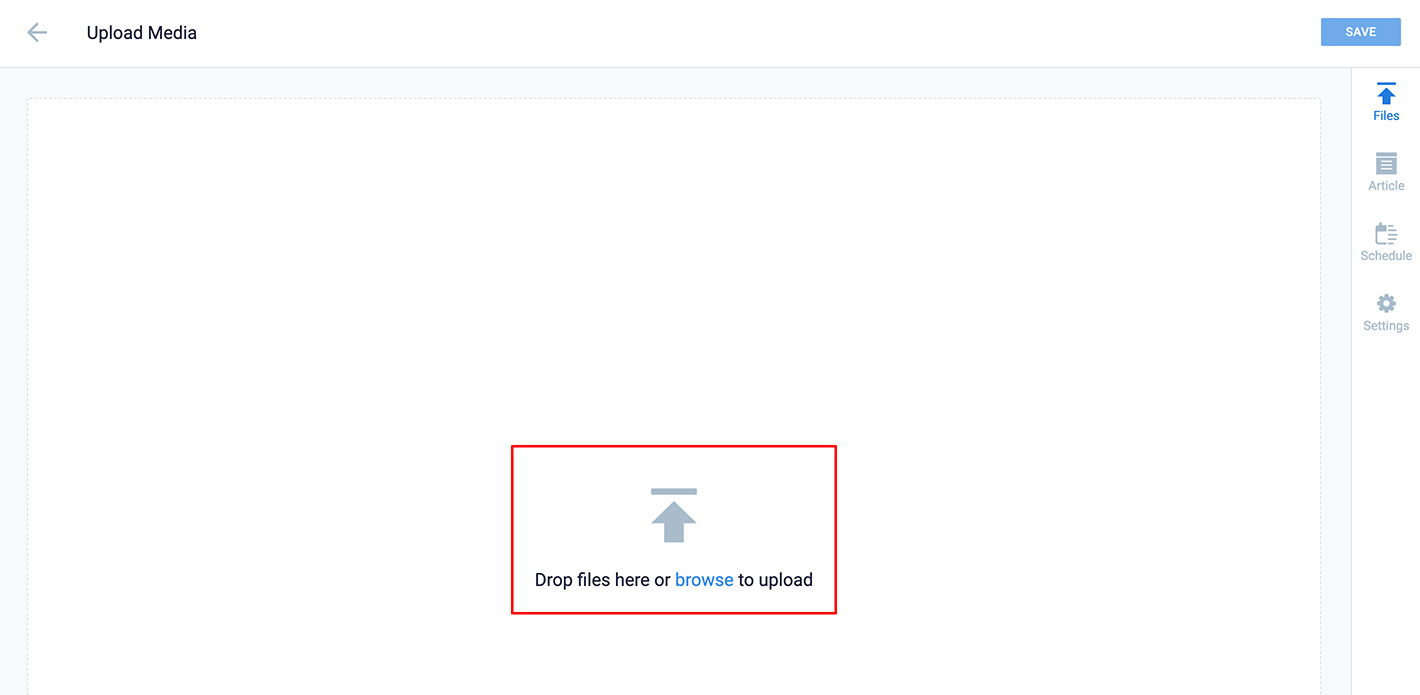
Step 7: Uploading from your computer: Drag and drop a file(s) from your desktop or select ‘browse’ to open up your computer’s file manager. You can upload multiple files at once and schedule them as a group. For this example we will upload only one.
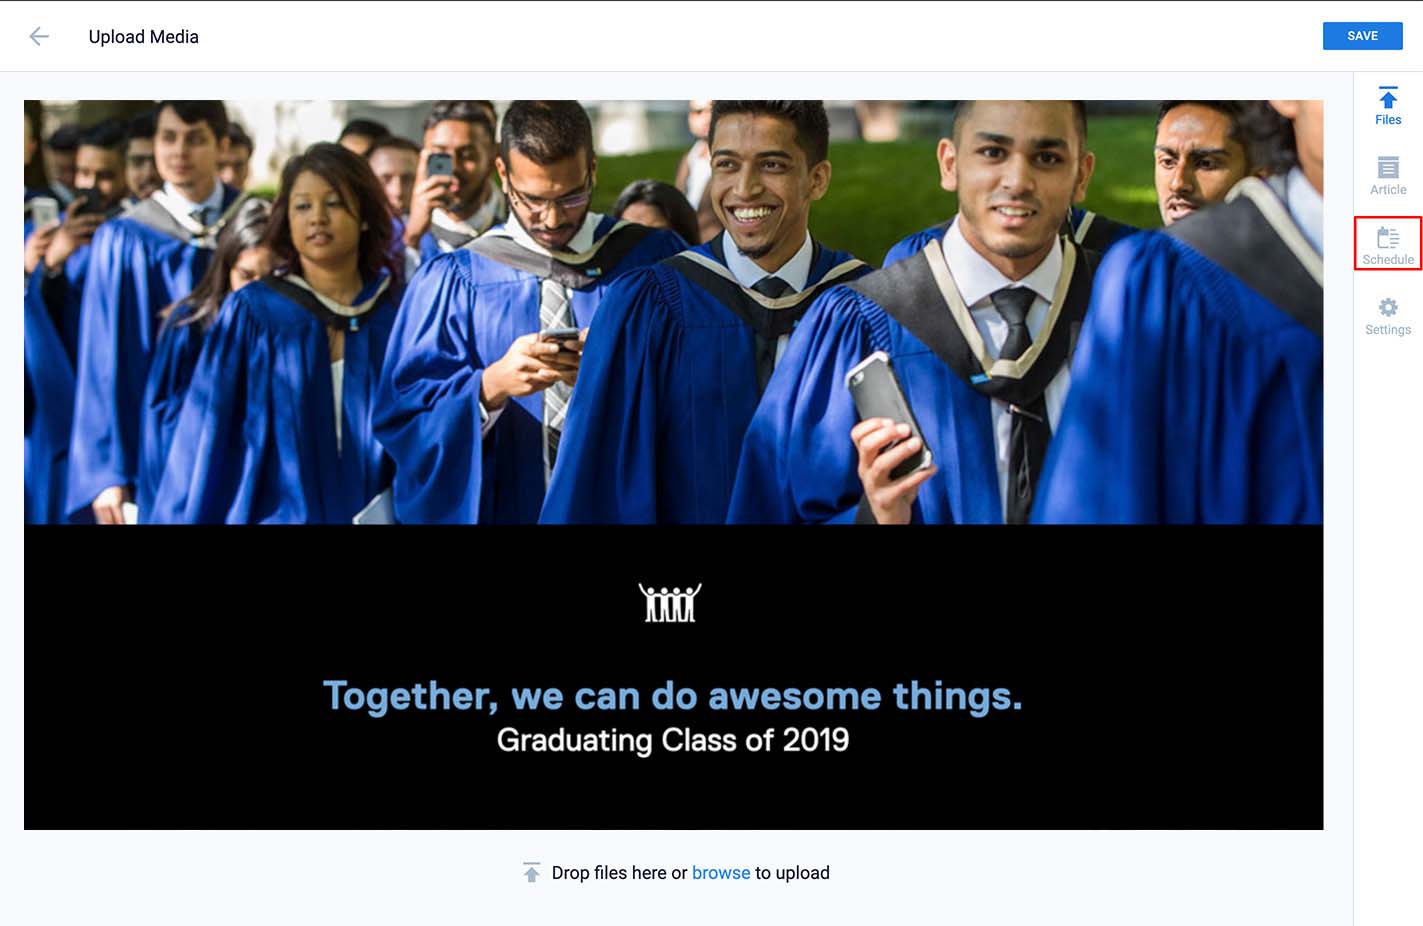
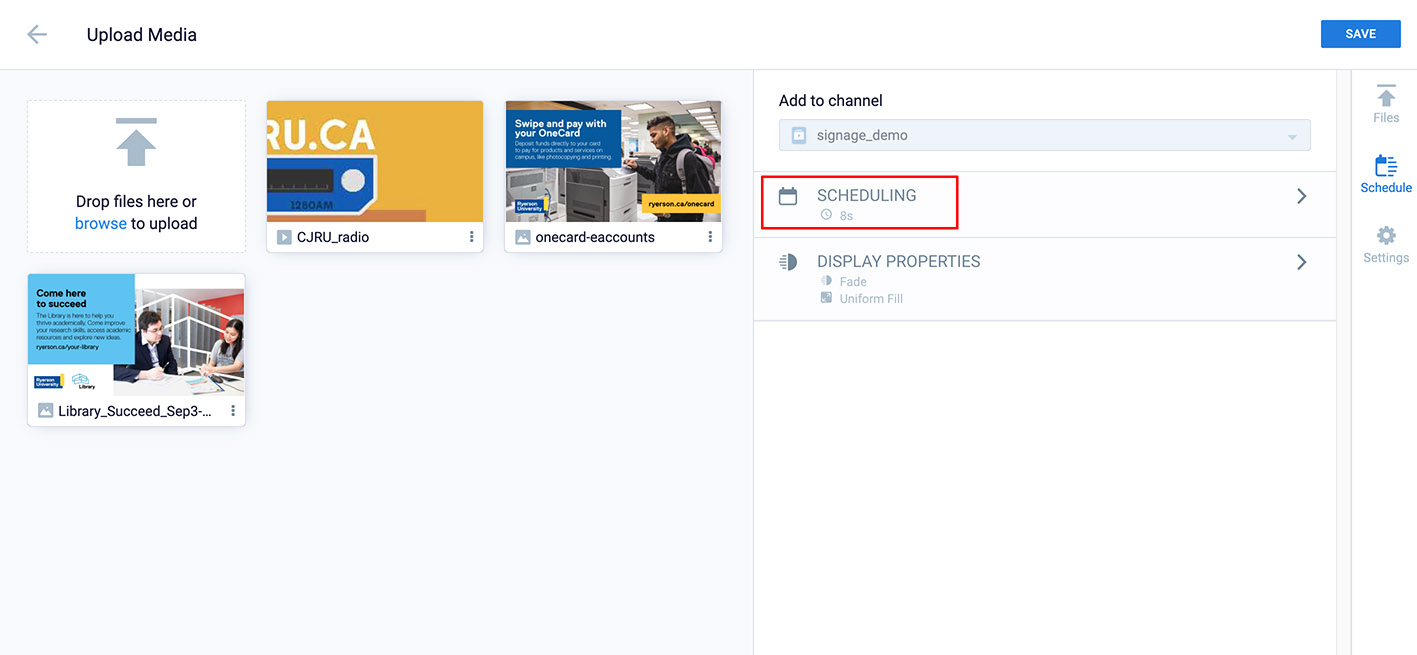
Step 8: Once you have selected your media it will display a preview image with properties icons on the right. Your file is ready to be given scheduling and expiry properties. Select the ‘Schedule’ icon to open the schedule and display properties menu.
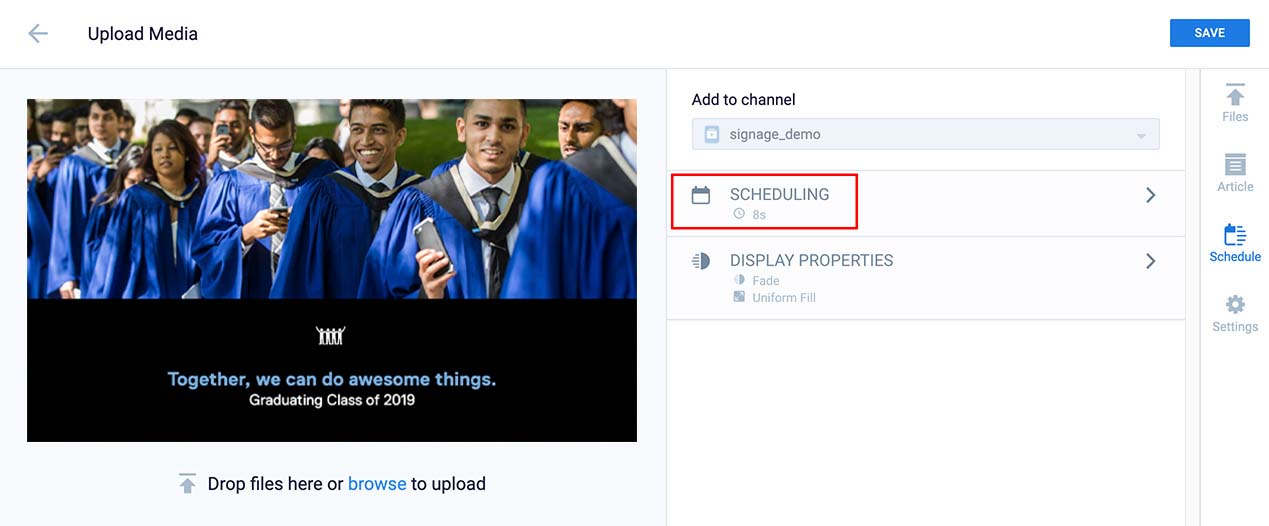
Step 9: Choose ‘Scheduling’ from the dropdown menu.
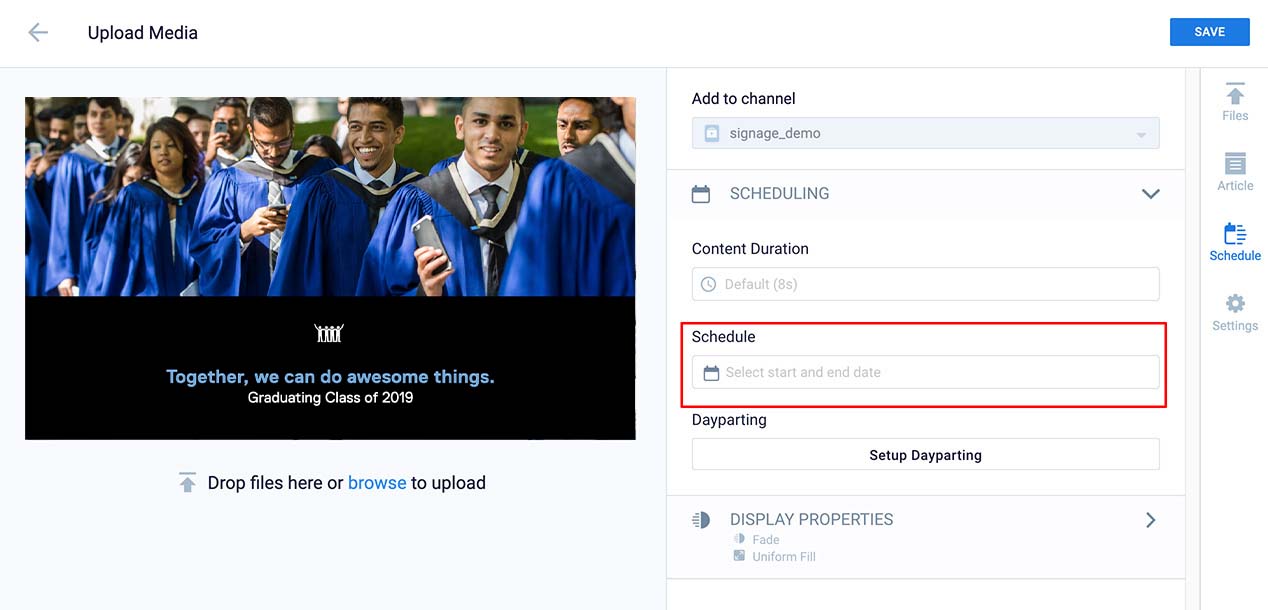
Step 10: Select ‘Select start and end date’ to reveal the calendar.
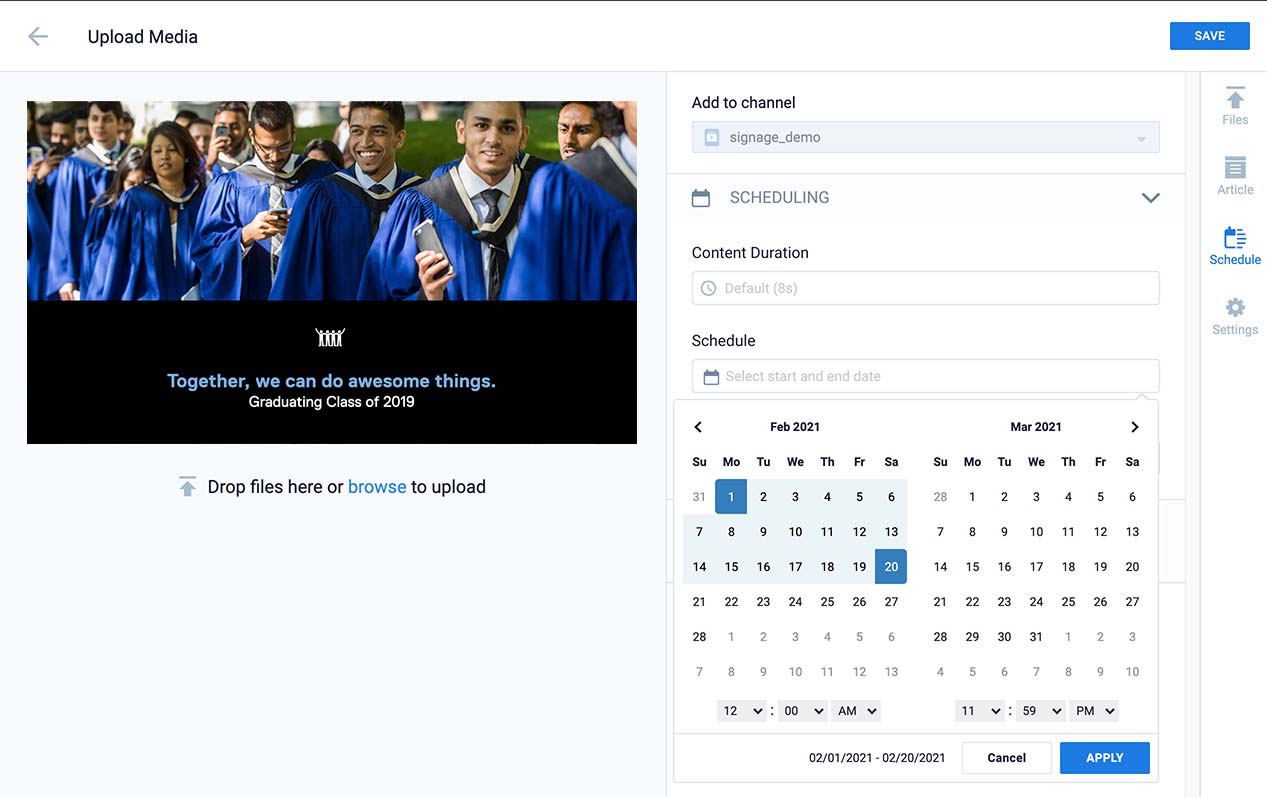
Step 11: Choose the start and end day to set a date range for your media and choose ‘Apply’ to finalize.
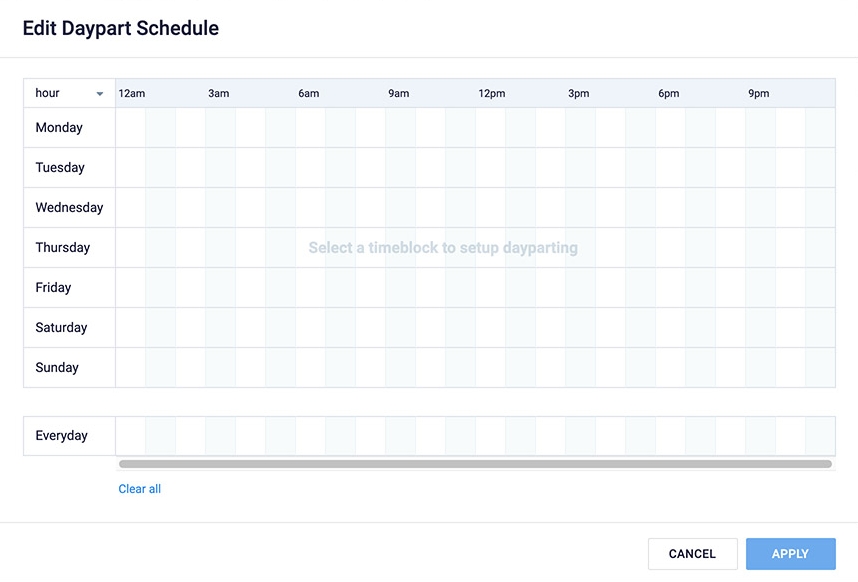
Step 12: Dayparting allows you to set up your content to play at specific times of the day or certain days. Select ‘Setup Dayparting’ to continue.

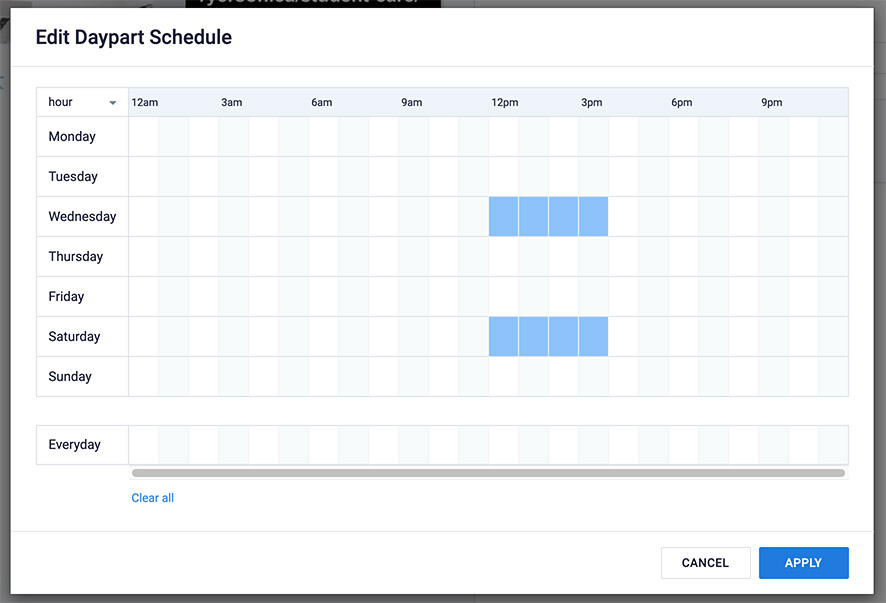
Step 13: You will now get a daypart schedule pop up. Drag your mouse to select a time block(s) you want your content to play. There can be multiple entries on different days.
Step 14: Once you have finalized all the times you want the content to play, choose ‘apply’.
Step 15: Frequency of playtime for your content. You can now control how much a specific content item will play in your playlist loop. Choose ‘Display Properties’ to continue.

Step 16: Select ‘Frequency Restrictions’ to set up playtime restrictions.
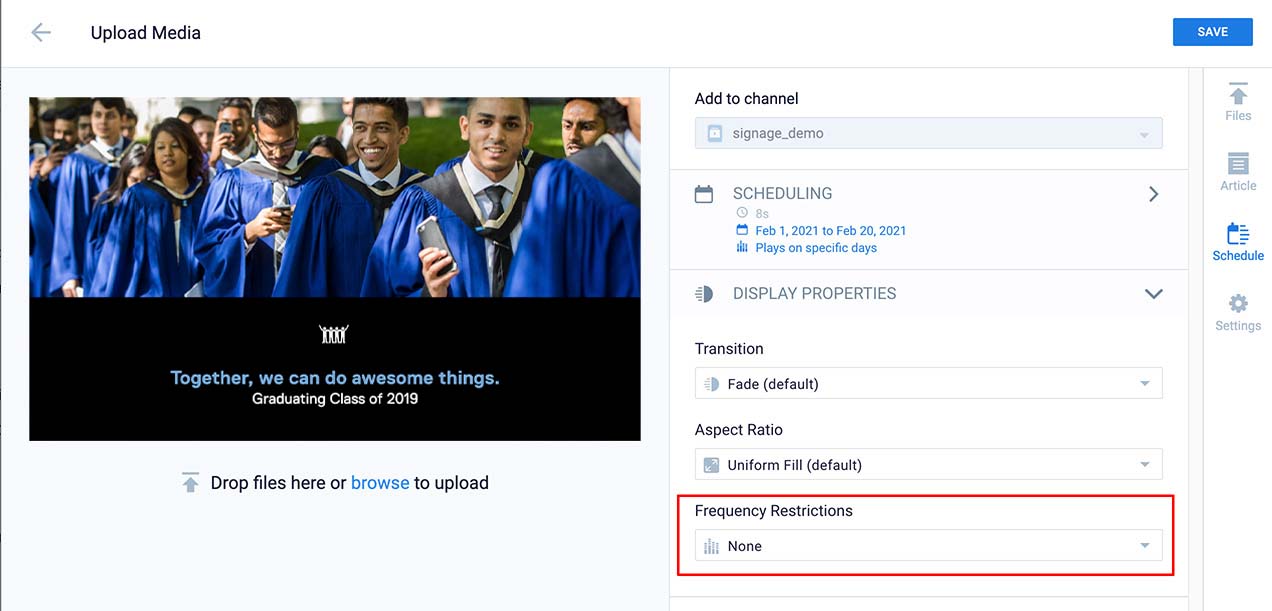
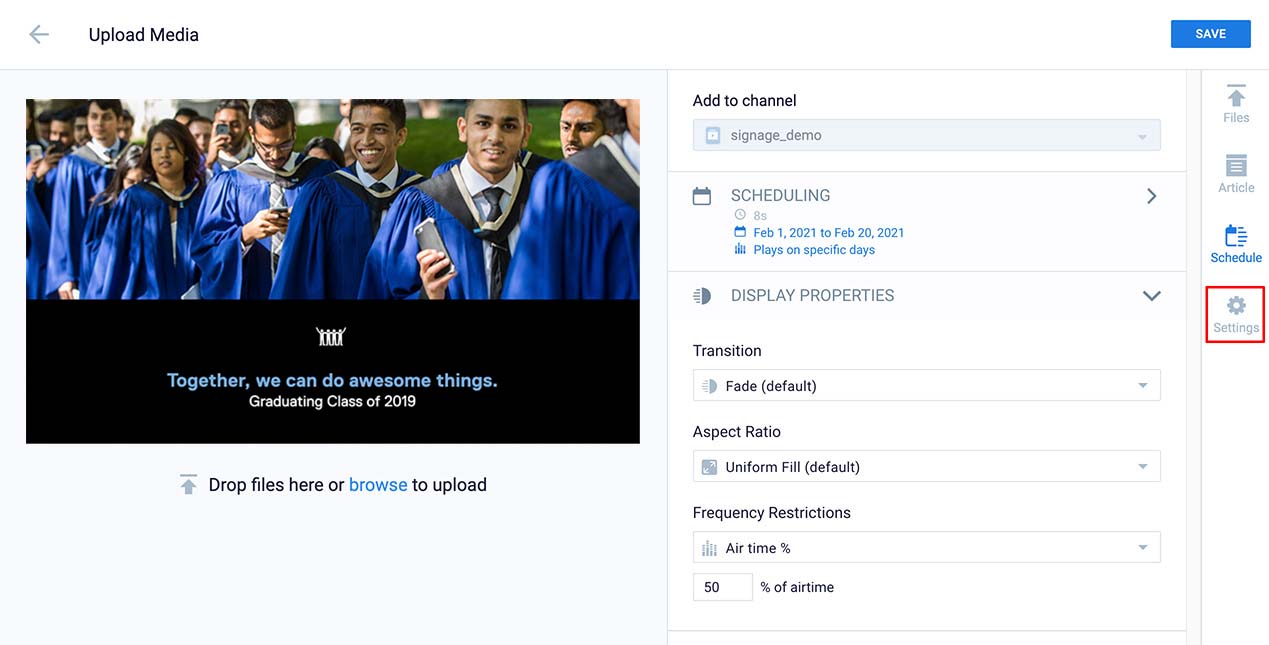
Step 17: There are many options to choose from for frequency, from exact amounts to percentages. Choose which option best suits your situation.

Step 18: Once you have chosen your preferred frequency restrictions, choose ‘Settings’ to expire your content.
Step 19: To expire content go to the ‘Settings’ tab and select ‘Auto Delete Content from Library’. Select ‘On a specific date’.
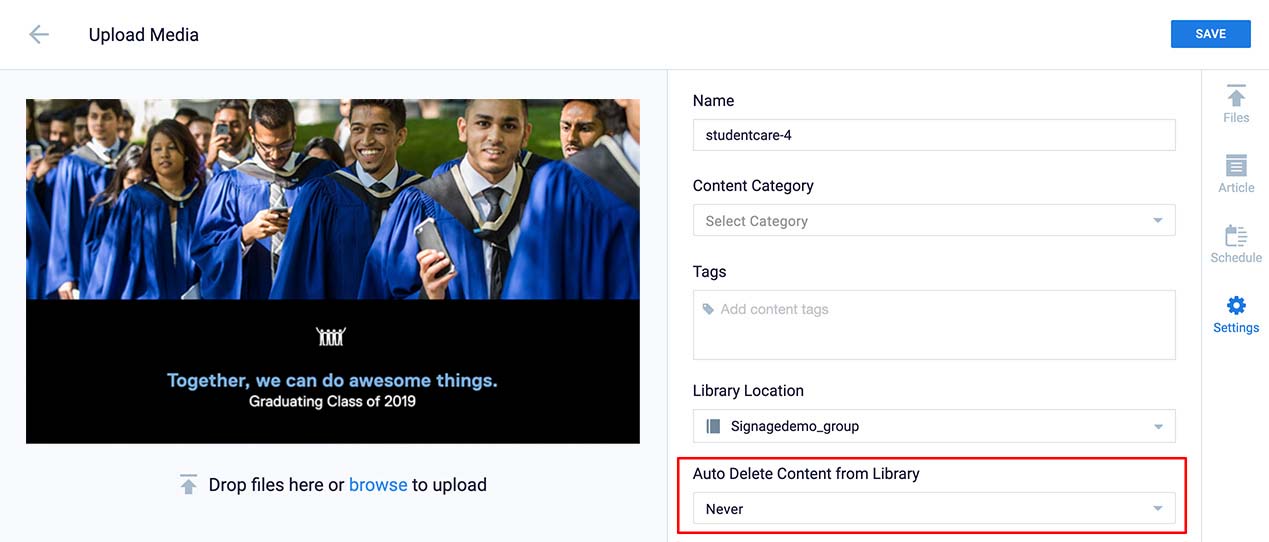
Expiring time sensitive content is essential to keeping our library manageable.
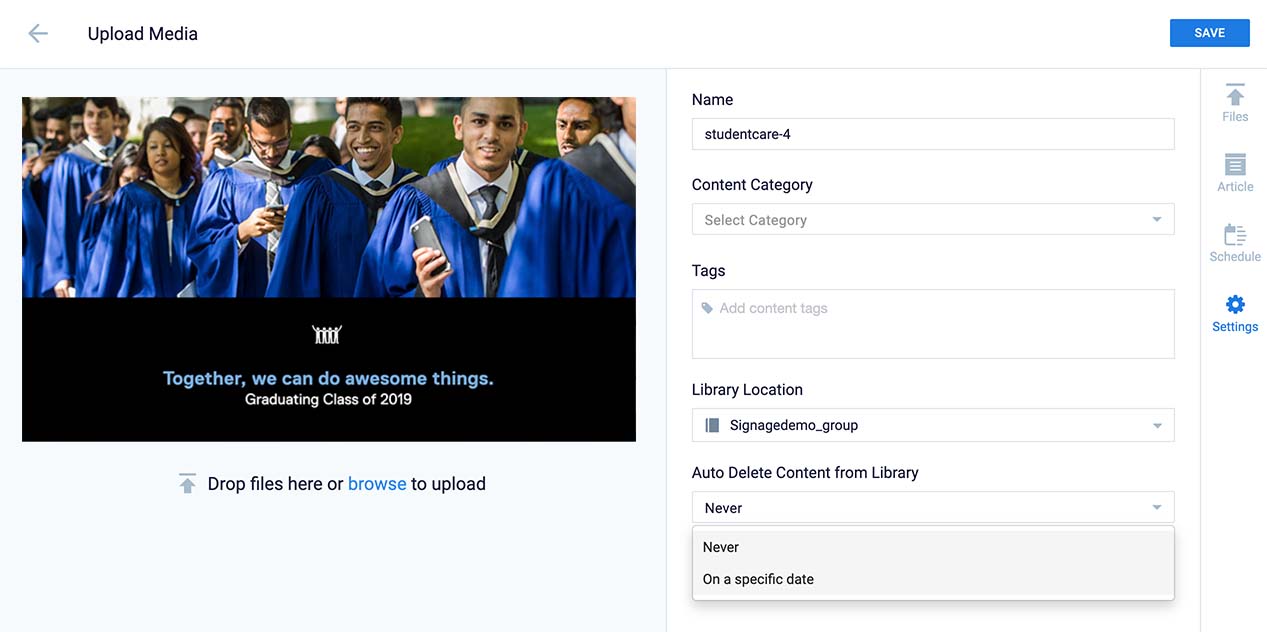
Step 20: Select ‘On a specific date’ to reveal the pop up calendar.
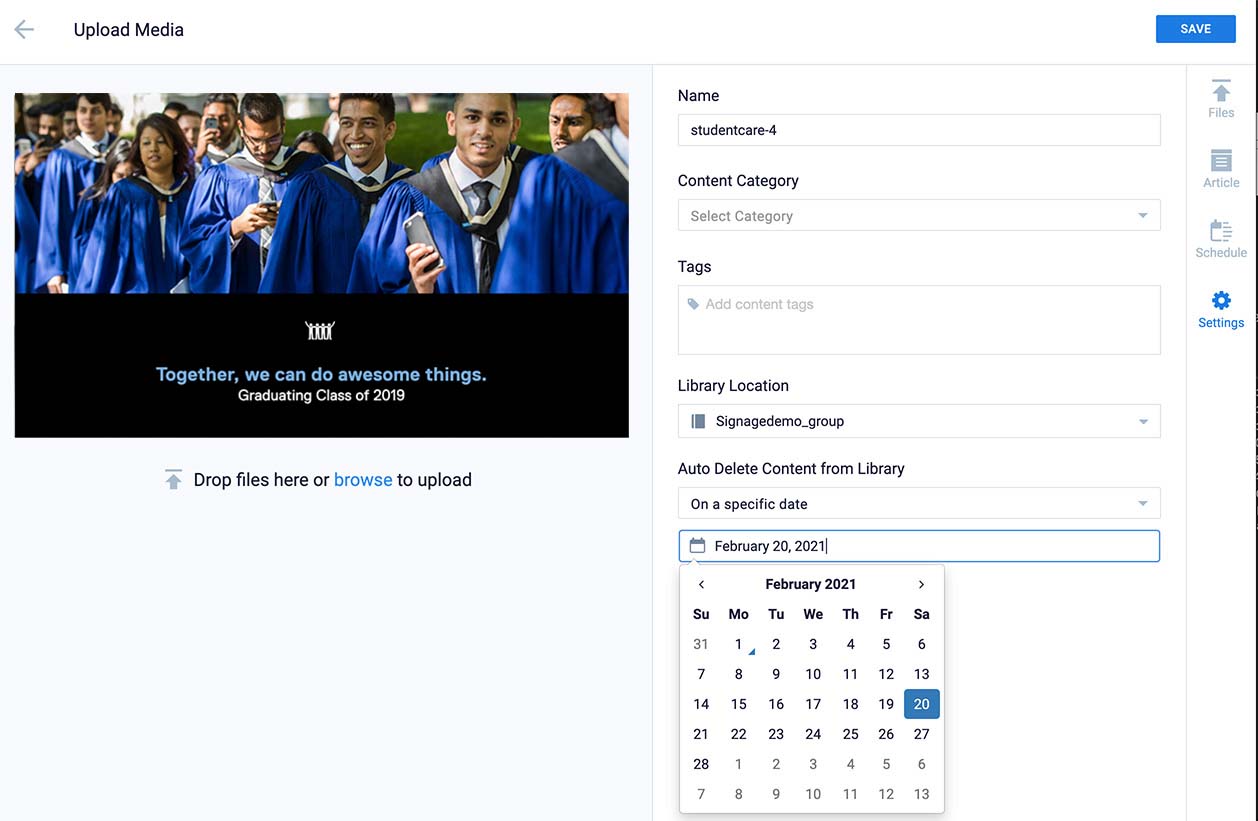
Step 21: Choose the expiry date from the pop up calendar. This will remove the item from the library permanently.
Step 22: Choose ‘Save’ to finalize.
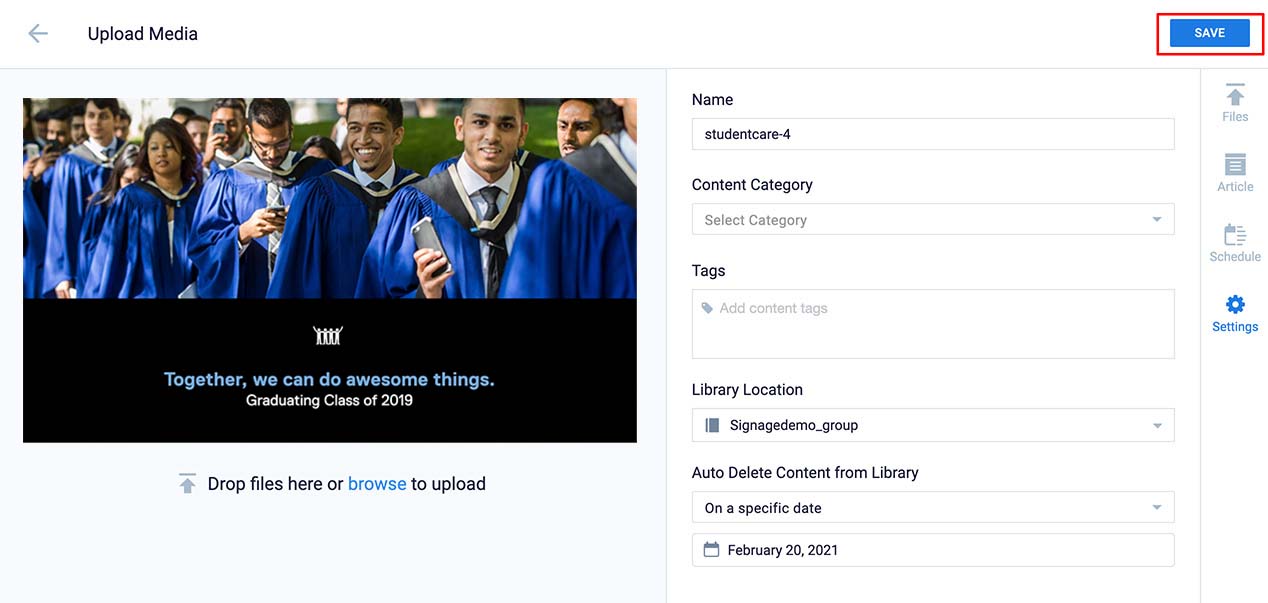
Your new media item is now added to your playlist.
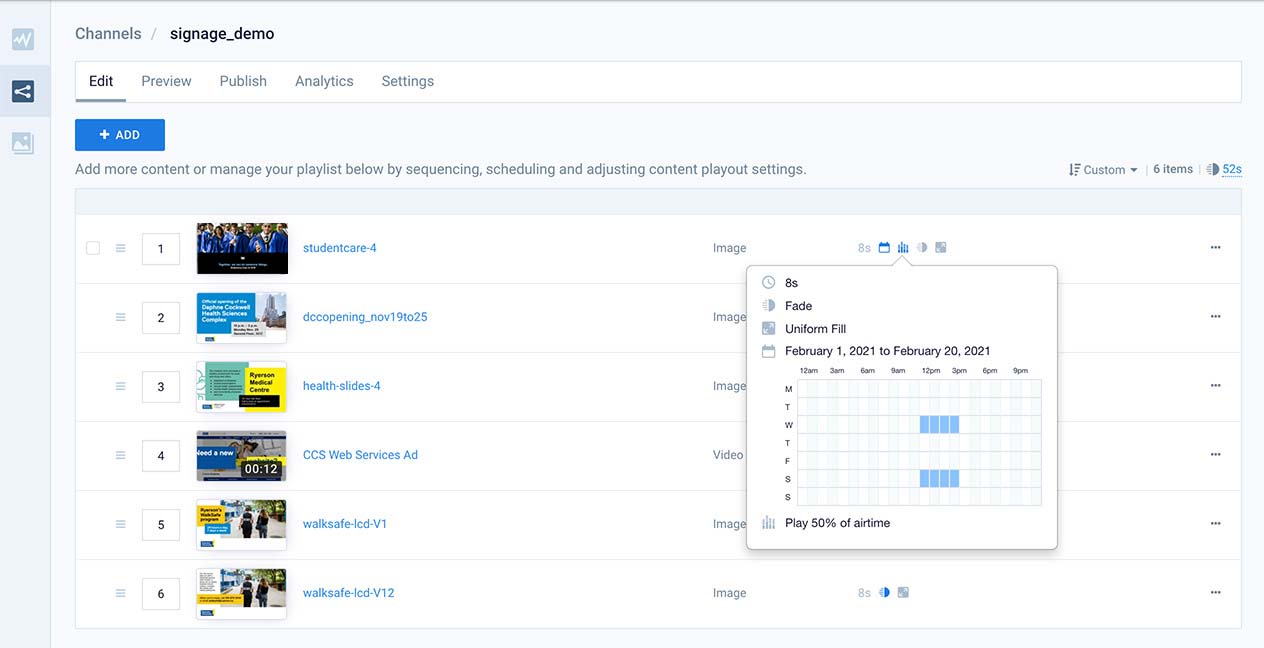
To review the details of your content’s playback properties you can mouse over the icons.

Your scheduling, dayparting and frequency restrictions will be shown.
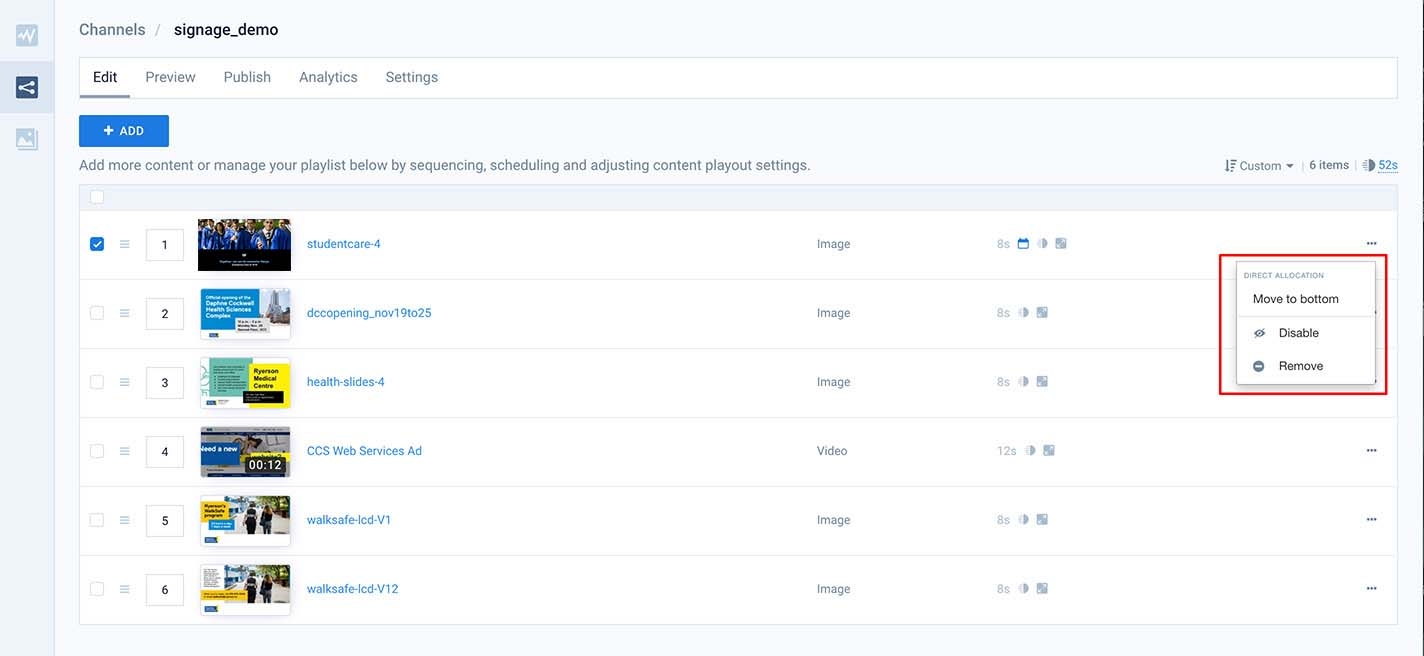
You can also delete the item from the playlist, or temporarily disable it by selecting the three dots on the right hand side of the screen.
If you are uploading a series of items that will be scheduled together and expire at the same time, you can do this quickly by uploading multiple items at once, and assigning a schedule, dayparting, and expiry date for the group.
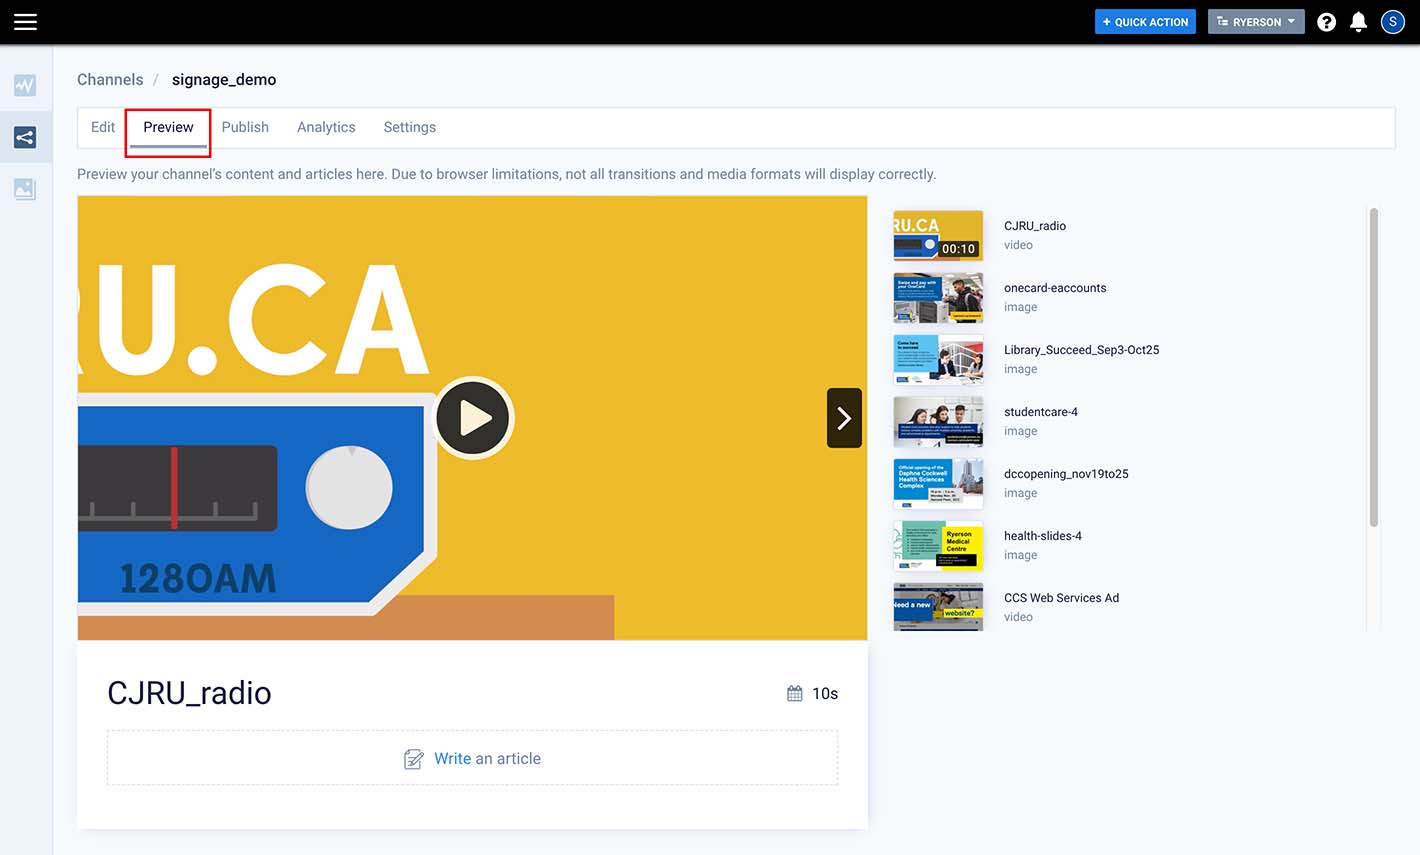
You can preview your playlist by choosing the ‘Preview’ tab. Move your mouse over the image and hit the play button in the viewer window to start the preview.